The Beginning with starting locations
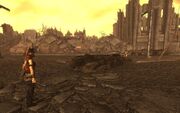
Fallout: DUST 2.0 offers a choice of nine starting locations.
This article tries to provide for a lore free description with spoilers concentrating on technicalities of these starting locations, while The Beginning provides for a more lore-rich one, including spoilers to gameplay.
- Each starting location will put the player into an initially safe interior location, differing in readily available loot and first and foremost threats encountered upon exiting said locations and entering the wasteland.
- Choice of starting locations is provided after choosing SPECIAL stats, Traits and the physical representation of the Survivor (all of which are final, no refinement is possible) by the player being able to enter gameplay through named doors.
- As noted in the Fallout: DUST Tips and Tricks page, saving your game proir to finally chosing a starting location is advised. Also, the article contains hints for lowering DUSTs difficulty, which first time players might want to have a look at.
First time players might want to try out starting locations 6, 7, or 8 first.
Starting locations are listed clockwise, with the player assumed to face the radio, starting on the right, as pictured above. The names given are those displayed in-game.
Shack (1)[]
Location[]
The former Lucky Jim mine house. This starting location has a Workbench and usable beds.
Notable Loot[]
- Crafting Kit
- Varmint Rifle, Knife
- 1 x 5.56mm Round (10% chance of more ammunition, ballistic and / or energy)
- Lying, Congressional Style
- Hammer, Wrench, Scrap Metal, Pressure Cooker, Metal Cooking Pan
- Surgical Tubing
- Turpentine
Immediate Surroundings[]
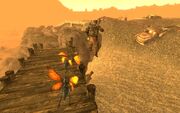
Leaving the shack, the Survivor will quite possibly be put into caution immediately due to multiple packs of Tunnelers patrolling in close proximity.
Three dead bodies are located in and near a wooden cart directly to the right of the shacks exit, and may be looted for armor. Next to the dead Survivor lying in front of it, a Silenced .22 Pistol can be found, albeit in bad condition and without ammunition. The Survivor carries lore.
A hollow rock, located at the rear left of the shack can provide for additional loot.
Tactical Considerations[]
Survivor within the first 20 minutes, with a bit of caution and luck
Your initial goal is to reach Techatticup Mine to the north east in order to get more starting gear and maybe some other loot.
Pick up the Crafting Kit, and craft a Throwing Spear from the Hammer.
Trying to fetch anything from the cart will almost inevitably alert the Tunnelers to your presence. Climb down the ledge in front of the shack, and cling to it about half way up. Tunnelers are bad climbers, and will most likely not be able to follow you.
Observe the surroundings from your position in the rock face. You will notice more Tunnelers patrolling the area to the north. Sneak around in the wall, keeping your height, until you are hidden. Then slowly move down, and sneak in the direction the former Lake Mead. Once you're about directly south of Techatticup Mine, sneak north until you can see the turning bay in front of the mines entrance.
The former legion camp directly downhill and east of the mine is still in use, so you now have three choices, if the residents of that camp are around:
- Try taking out a strolling member of the residents of the former legion camp using the Throwing Spear
- Try taking out one of the mines guards in the turning bay using the Throwing Spear
- Sneak up on the hostile on the road leading to the Turning Bay, and kill him using your Throwing Spear
At any rate, be patient, and observe patrolling routes in order to not alert more than one of the hostiles. They will be able to take you down with a single hit from most any ranged weapon at this early stage, so pick your target carefully, if more than one is patrolling.
Provoking one of them into investigating your position, and then taking him out using your Throwing Spear will enable you to loot him in a safe distance from others.
Now, that you have armor and additional weaponry, use similar tactics of keen observation and not taking on more than a single hostile at a time for getting your hands on more loot.
ALTERNATIVE to the mine
On the other hand, the tribals in the mine cost karma hit to kill and the loots are suboptimal counting againts the sanity cost, leaving alone the rad poisoning. So if you have to cost your sanity, why not spend it somewhere much more profitable: Three Cross Camp.
You can just sneak in the mine, steal what you can, and sneak out toward the north.
The big encampment has tribals guards spreading all over the place, and you can lure them onto one of the empty house to kill them without getting the whole camp running toward your place.
One of the barracks has a tribal chieftain and his bodyguards inside, should be the toughest encounter you've had upto now. You might want to lure them out of the house and ambush them by the doorway. Dont be afraid to spend all your collected supplies on this battle, because Nelson will repay you in full.
Dont forget to eliminate the cannibal trio at the checkpoint leading into cannibal nest of Novac. They always have one guy with .45 SMG and Tribal power armor.
Mo Tel and Cannibal hill of Forlorn Hope are two easy targets after Nelson.
Black Rock Cavern (2)[]
Location[]
The former Black Rock cave.
Notable Loot[]
- Crafting Kit
- Paladin Toaster
- Armor
- Hydra
- Lore
Immediate Surroundings[]
The immediate surroundings of the caverns exit are safe to navigate. Leaving in a straight line towards HELIOS One, a hollow rock marked with a heart symbol can provide for additional loot.
Gibson's Shack can be reached without complications by careful navigation, and provide for further initial loot.
Tactical Considerations[]
After about 20 minutes. With guts, luck and help from friends
Your initial goal is to reach Gibson's Shack and the outskirts of Nipton for more initial loot.
After looting off anything from the dead survivor next to you, pick up the Crafting Kit, leave the cavern and take anything from the hollowed out rock in front of it.
Move towards HELIOS ONE in a straight line, then turn right and follow the fence sneaking. Observe your surroundings for Radscorpions, check their patrolling routes, and continue slowly moving up north. Trying to take out the hostiles guarding Helios ONE is almost impossible for you at this early stage.
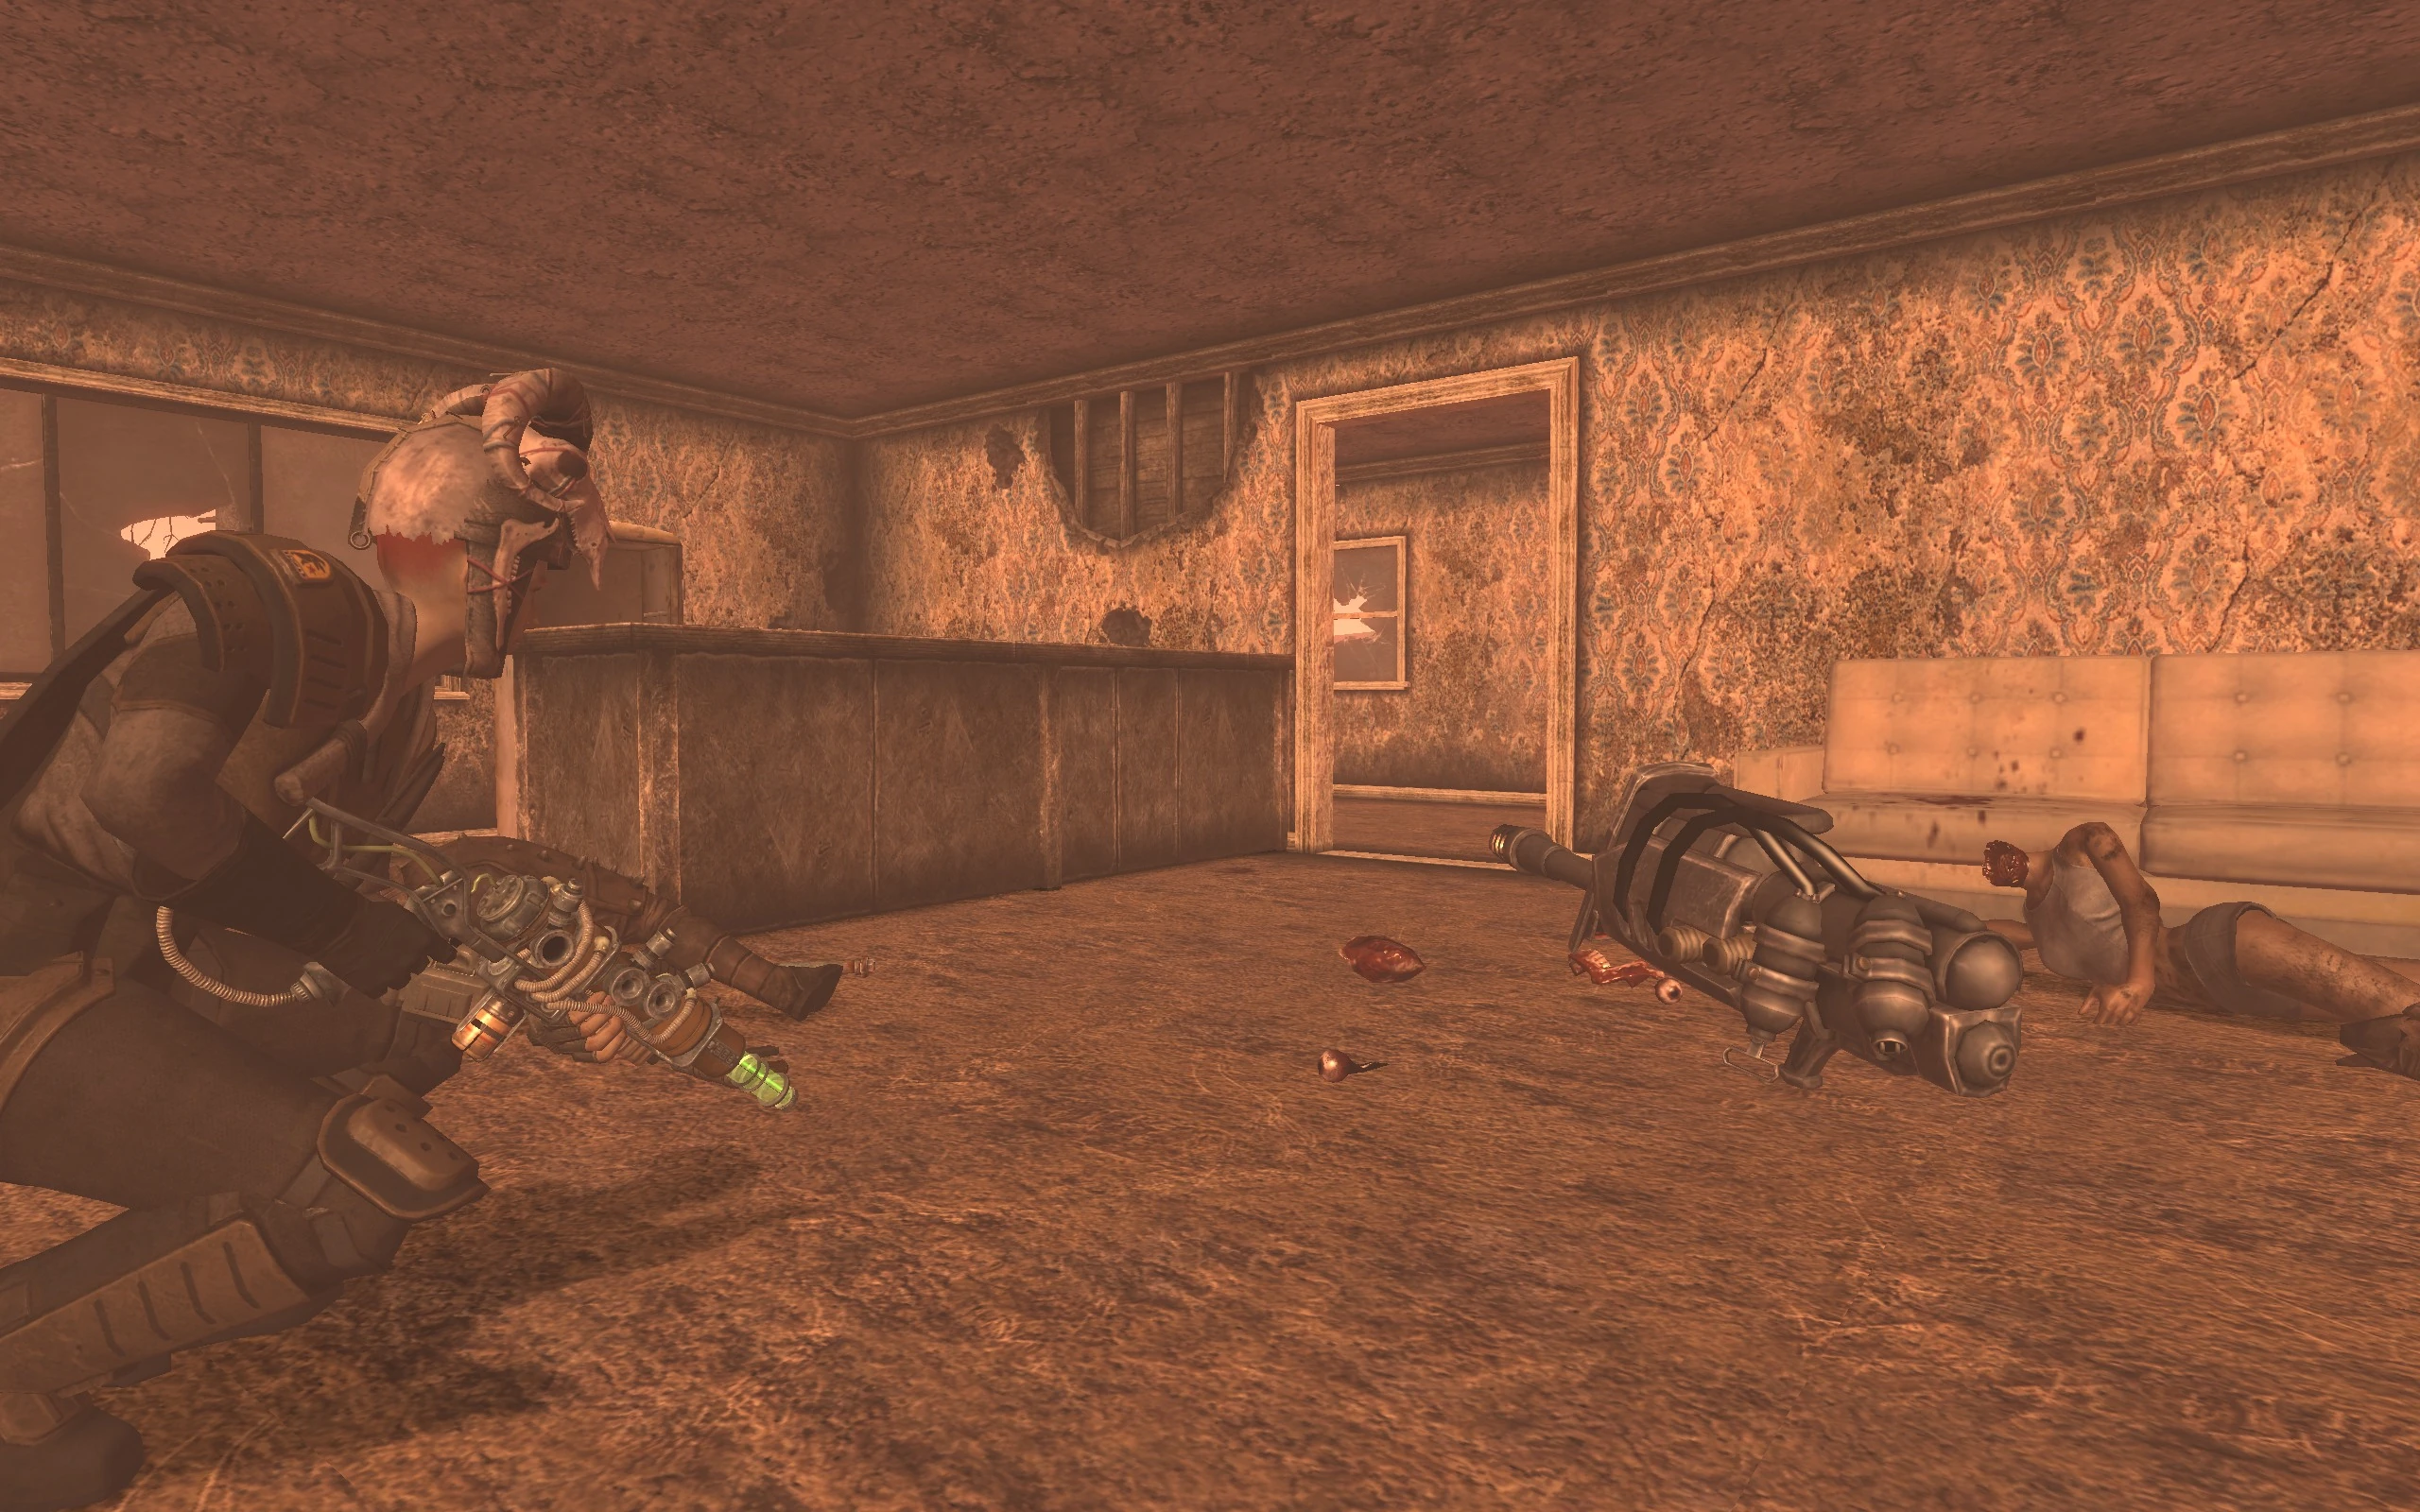
Gibson's Shack is held by non-hostiles, who, with any luck, have taken out a hostile or two for you to loot. Enter the shack, and loot the chems. The booze will not vanish, and since for now your new friends will keep the shack accessible, dragging its additional weight around will most probably only make you drop and loose it in favour of other loot. Don't forget the Machete sticking to the wall above the mattress.
Novac is home to an almost absurd number of hostiles. Close in sneaking towards the small improvised shack with the Workbench from the direction of the train tracks, and lure a very small number of hostiles (no more than three) towards your allies. Your helpers are very likely to get killed during the ensuing skirmish, if you don't support them. Beat the hostiles with anything you have, your bare fists, if necessary, while they're busy with trying to murder other people than you.
Then pick off any loot of the dead for more starting gear. You might want to sneak into No-bark's shack for a bit of drink and one of the Novac homes (the one with the entrance facing the train tracks) for a small bit of food (and healing items in an easy locked First Aid Box, if you have a Bobby Pin). Trying to tackle the new Old Lady Gibson at Gibsons scrap yard is very likely to be far above your initial capability, with even her dogs being formidable enemies at this stage. If you're out for the dogs meat, try during the night, when new Old Lady Gibson is asleep.
Hidden Armory (3)[]
Location[]
The former, unmarked Great Khan armory at the south entrance of Red Rock Canyon. This starting location has a Workbench and a Reloading Bench.
Notable Loot[]
- Crafting Kit
- 12.7mm Submachine Gun
- 7 x 12.7mm, Hollow Point
- Makeshift Grenade Launcher
- 1 x 40mm Grenade, Incendiary
- Armor
- Hydra
- Dynamite
- 2 x Molotov Cocktail (Sarsaparilla)
- Machete
- Wrench, Scrap Metal
- Very easy, easy and average locked Cabinets and Ammunition Boxes, but no Bobby Pins
- Additional guns and ammo in containers (not locked)
- Food and drink in containers (not locked)
Immediate Surroundings[]
No immediate threats will emerge, if the safety of the armory is left, but the area to the south is infested with Tunnelers, including Tunneler Queens. Leaving towards the northern direction, an Ammo Box can be found on a rusted motorcycle.
The inhabitants of the settlement in Red Rock Canyon will be hostile towards the Survivor.
Tactical Considerations[]
Made it into the South Vegas Ruins, now keep distance to inhabitants.
Your initial goal is to gear up and reach the South Vegas Ruins for more loot.
The Hidden Armory can provide for excellent loot, even before leaving it, apart from that guaranteed to be present. It also is one of the rare starting locations potentially provinding players with some food and drink.
Reach into the pockets of the dead corpse through the bars of the armory cage to fetch the key to get out, and loot all weapons, armor, explosives, food and drink you can carry (and don't forget the Crafting Kit). Don't take the Tesla Armor. Even if you're able to drag it around, there's no Power Armor training available, so you'll never be able to wear it.
With all all other directions than north and east blocked off by hordes of very dangerous hostiles, and the far north direction ending you up facing a considerable number of even more dangerous hostiles, head east (after a short visit up north to pick up additional rounds from an Ammo Box on a motorcycle), keeping high ground at all times, while keenly observing hostiles patrolling the area.
Leave high ground, once Chance's Map is directly below you, and after making sure that hostiles are wandering around elsewhere. Following the road, you will encounter a camp inhabited by a large number of mostly territorial dogs and mostly territorial hostiles - as long as you don't come too close to them, they'll not attack.
Use that behaviour to reach and loot the South Vegas Ruins, whose inhabitants are equally territorial, but will not attack on sight.
ALTERNATIVELY, for the adventurous Survivor, there's a short trip toward Red Rock Village Longhouse in the night (for easier sneaking). Finishing off the guards around, and its inhabitants, and you can have enough loots, foods and drinks to compensate for the karma hits. A Great Khan armor will be useful for camouflage while entering Vault 3 as GK and looting an entire Vault in peace. Plus, a big part of tribals wandering around will be completely neutral/friendly toward you now.
Safehouse (4)[]
Location[]
The former Followers safehouse. This starting location has a Workbench and usable beds.
Notable Loot[]
- Crafting Kit
- Pipe Rifle
- 2 x 10mm Round,
- Doctors Bag
- Today's Physician
- Super Stimpak
- Armor
- Chance of additional loot from corpses inside the safehouse
Immediate Surroundings[]
Exiting the safehouse, the Survivor will not be threatened and in addition has the advantage of having high ground. Two graves behind the safehouse could provide for additional loot, but require a Shovel to open.
Tactical Considerations[]
Another Survivor after a killing spree in the house
Your initial goal is to reach a small farmhouse in the east for more loot.
Gear up with anything found in the safehouse, leaving behind all items not directly aiding survival by increasing protection, self-defense capabilities or nutritional value -- don't forget to pick up the Crafting Kit. Leaving the safehouse, ignoring the two graves behind it, which require a shovel to be looted, head downhill east to find more loot on a road, while carefuly keeping your distance from some very deadly hostiles inhabiting the Horowitz Farmstead up north and the area down south.
After picking up gear from the corpses on the road, sneak your way to the transformer station, and move along the outside fence to its far corner. You'll notice a small, intact farmhouse, which is your target.
Again, observe hostiles patrolling, then make entry into the house, neutralizing not only its sole inhabitant but also anyone trying to enter. You did pick up and do wear some high DT NCR Armor on the road, did you ?
Loot includes food, drink, weaponry, armor (consider ridding yourself of the high weight NCR armor) and ammunition, further preparing you for the journey ahead. Also, the house contains a usable bed.
Shack (5)[]
Location[]
The former Brotherhood of Steel safehouse. This starting location contains a usable bed. Note, that the bunker formerly located underneath the safehouse is no longer present at this location.
The defining characteristic of this starting place is the absolute lack of water source in near and medium distance. You need to find some water bottles before sleeping, or dying of thirst in your sleep most certainly can happen.
Notable Loot[]
- Crafting Kit
- 9mm Revolver
- Makeshift Scythe
- 2 x 9mm Round
- Beer
- Hammer, Wonderglue, Wrench
- Lore
Immediate Surroundings[]
Leaving the shack is safe, as the immediate vicinity is just as devoid of hostiles, as it is devoid any additional loot.
Special care should be taken when navigating the wider area, as Tunnelers, Cazadors and even Deathclaws call it their home.
Tactical Considerations[]
Your goal is to escape the dead end you're in.
While the north is blocked off by terrain, you'll be hard pressed to pass the hostiles waiting for you directly east, to the west and further down the south.
The good news is, that you have quite a few options for getting your hands on gear, and more importantly: food and drink. All of the routes will have you pass through Calville Bay sooner or later.
Take the gun, the ammo, the beer, the scythe, the hammer and the wonderglue and have a look at the lore. Also, don't forget to pick up the Crafting Kit.
Leave the shack, and sneak south until you hit the road. Then follow the road south-east, keeping an eye out for hostiles, until you're close to Calville Bay.
You now have several options, two of which are detailed below
Calville Bay
Close call at Calville Bay
Don't take the road into Calville Bay. Rather, climb up the small hump to the right of the road, and move slowly towards the train wagons. Hostiles close to the wagons will usually engage in a hopeless firefight with the inhabitants of the shipyard building, so wait for that to happen, if it didn't already, and then loot their remains. Keep your distance from and an eye on the shipyard building.
There's valuable loot like a Hot Plate, a Makeshift Crossbow, crafting materials and some alcohol in Captain Dean Boat Rentals, but you will very likely be spotted, either upon entering the building or upon leaving it. If you get spotted, make a run for the wooden jetty, jump of off it to the right, and circle the concrete structure in order for the hostiles to loose interest.
If you decide against visiting the former Bitter Springs refugee camp, or already have been there, follow the coast line west, until you reach the former Fisherman's Pride shack for some more loot and a usable bed. You will need weaponry for taking out hostiles in its vicinity, though. Using the rather rough terrain to your advantage by having the confused hostiles get stuck can save you some ammunition and spare your weapons the wear.
By now you should have reasonably capable gear and a supply of food and drink. Continue following the coastline west to the other side of the lake in order to finally get out of the dead end you were starting in.
Former Bitter Springs refugee camp
Continue on the road, until you hit the Bitter Springs Recreational Area. Don't bother entering the office shack, as the new staff isn't particularly fond of customers, paying or not. Also, they have glowing eyes.
Make your way up north to what once was Bitter Springs. With any luck, the hostiles in the lower part of the camp are playing catch, and will ignore you, while you have a look around. Also, check the graveyard to the west, even if you don't have a shovel on you.
Then make your way up to the administrative area. Hostiles in this part of the camp will be territorial, but not attack on sight. Loot at least the two main tents, and don't forget to pick up the Rushing Water in the one facing downhill.
Climb up behind the tents, ignore the cave directly above (unless you're willing to deal with a pack of pretty quick and deadly hostiles), and move west clinging to the hillsides in order to keep (very) high ground, until you reach Oscar Velasco's cave, where the Rushing Water might come in handy. If you're not into Scythe vs Grenade Launcher matches, craft a Throwing Spear from the hammer you picked up in the starting shack and land a head shot from the shadows.
The cave holds an enormous amount of food (by DUSTs standards), a usable bed, weaponry and ammunition. Search the place thoroughly, including the dead hostile.
Make your way back to the camp, again keeping high ground, then down to the Recreational Area, and continue with with Calville Bay.
Locations of immediate interest
From the Bitter Spring Village you can try and make a detour to former Ranger Station Bravo to the north east, where hostiles usually murder each other leaving you with dead bodies to loot, and ammo boxes. Tackling the former Camp Guardian further east is likely above your characters capability at this stage.
Alternatively, Bloodborne Cave is a high risk, high benefit cavern full of nightcrawlers. If you have enough resources to kill all of them, then the cache, and various static loot are more than enough to return it.
Oscar Velasco for one, and the survivor corpse in Rental building provide two Great Khan armor. Wearing this and sneak into Vault 3 to reopen old trade contact, and pacify a large part of Tribals faction. The Fiendish Tribals will become neutral/friendly and allow access to various places for easy pickings. Without any of two suits above, you would have to do a long trek toward Chance's grave or Great Khan Encampment or even Red Rock Canyon to find one.
Counterinituitively, if you can wait for the deathclaw patrolling the tunnel and the trainyard to get either killed or distracted away, you can circle northward toward Raul's Shack for some valuable loot and safe base. From that is a running distance toward Vegas outer ruins.
Safehouse (6)[]
Location[]
The former Caesar's Legion safehouse. This starting location contains a Workbench.
This was the (single) starting location of Fallout: DUST prior to version 2.0. Note, that this location has two exits.
Notable Loot[]
- Crafting Kit
- Makeshift Grenade Launcher
- Makeshift Pistol
- Tire Iron
- 2 x 22LR Rounds
- Armor
- Box of Detergent
- Abraxo Cleaner
- 2 x Empty Sunset Sarsaparilla bottle
- Programmer's Digest
- 1 x Pork N'Beans
- 2 x Turpentine
- Lore
- Chance of additional alcohol from loot
Immediate Surroundings[]
Exiting through the door in the room upstairs leads to a usable campfire. Note should be taken on how to reach the roof of the safehouse in case of emergencies, especially since paths downhill are either guarded by Ghouls or by Tunnelers.
Taking the exit hatch below one of the beds, more loot and substantially more lore can be found, ultimately leading to another exit avoiding the hostiles luring at the hill sides.
With what was formerly known as Nipton providing for gear (some of it even unique) and provisions, this makes for a good, but not too forgiving starting location.
Hint: The key to the locked door exiting the tunnel is located in the same room as the door.
Shack (7)[]
Location[]
Notable Loot[]
- Crafting Kit
- Femur
- Armor
- Lore
- Weaponry, ammo and clutter in locker and container
- Weapon Repair Kit
Immediate Surroundings[]
This is a particularly resource rich starting location, since there is a good chance of finding well-equipped lootable corpses close by as a result of faction hostilities or Tunnelers wreaking havoc, which were lured off their usual patrolling routes by the factions fighting.
Hostile creatures present in the area, especially Tunnelers, can usually be identified by careful observation and subsequently avoided. Remaining human hostiles might be neutralized with the weaponry initially available, if need be.
Combined with loot available in what was formerly known as Goodsprings, this starting location, with any luck, is very likely to provide for excellent starting equipment and provisions.
Hint: The key to the locked locker is located inside of the shack.
Tactical Considerations[]

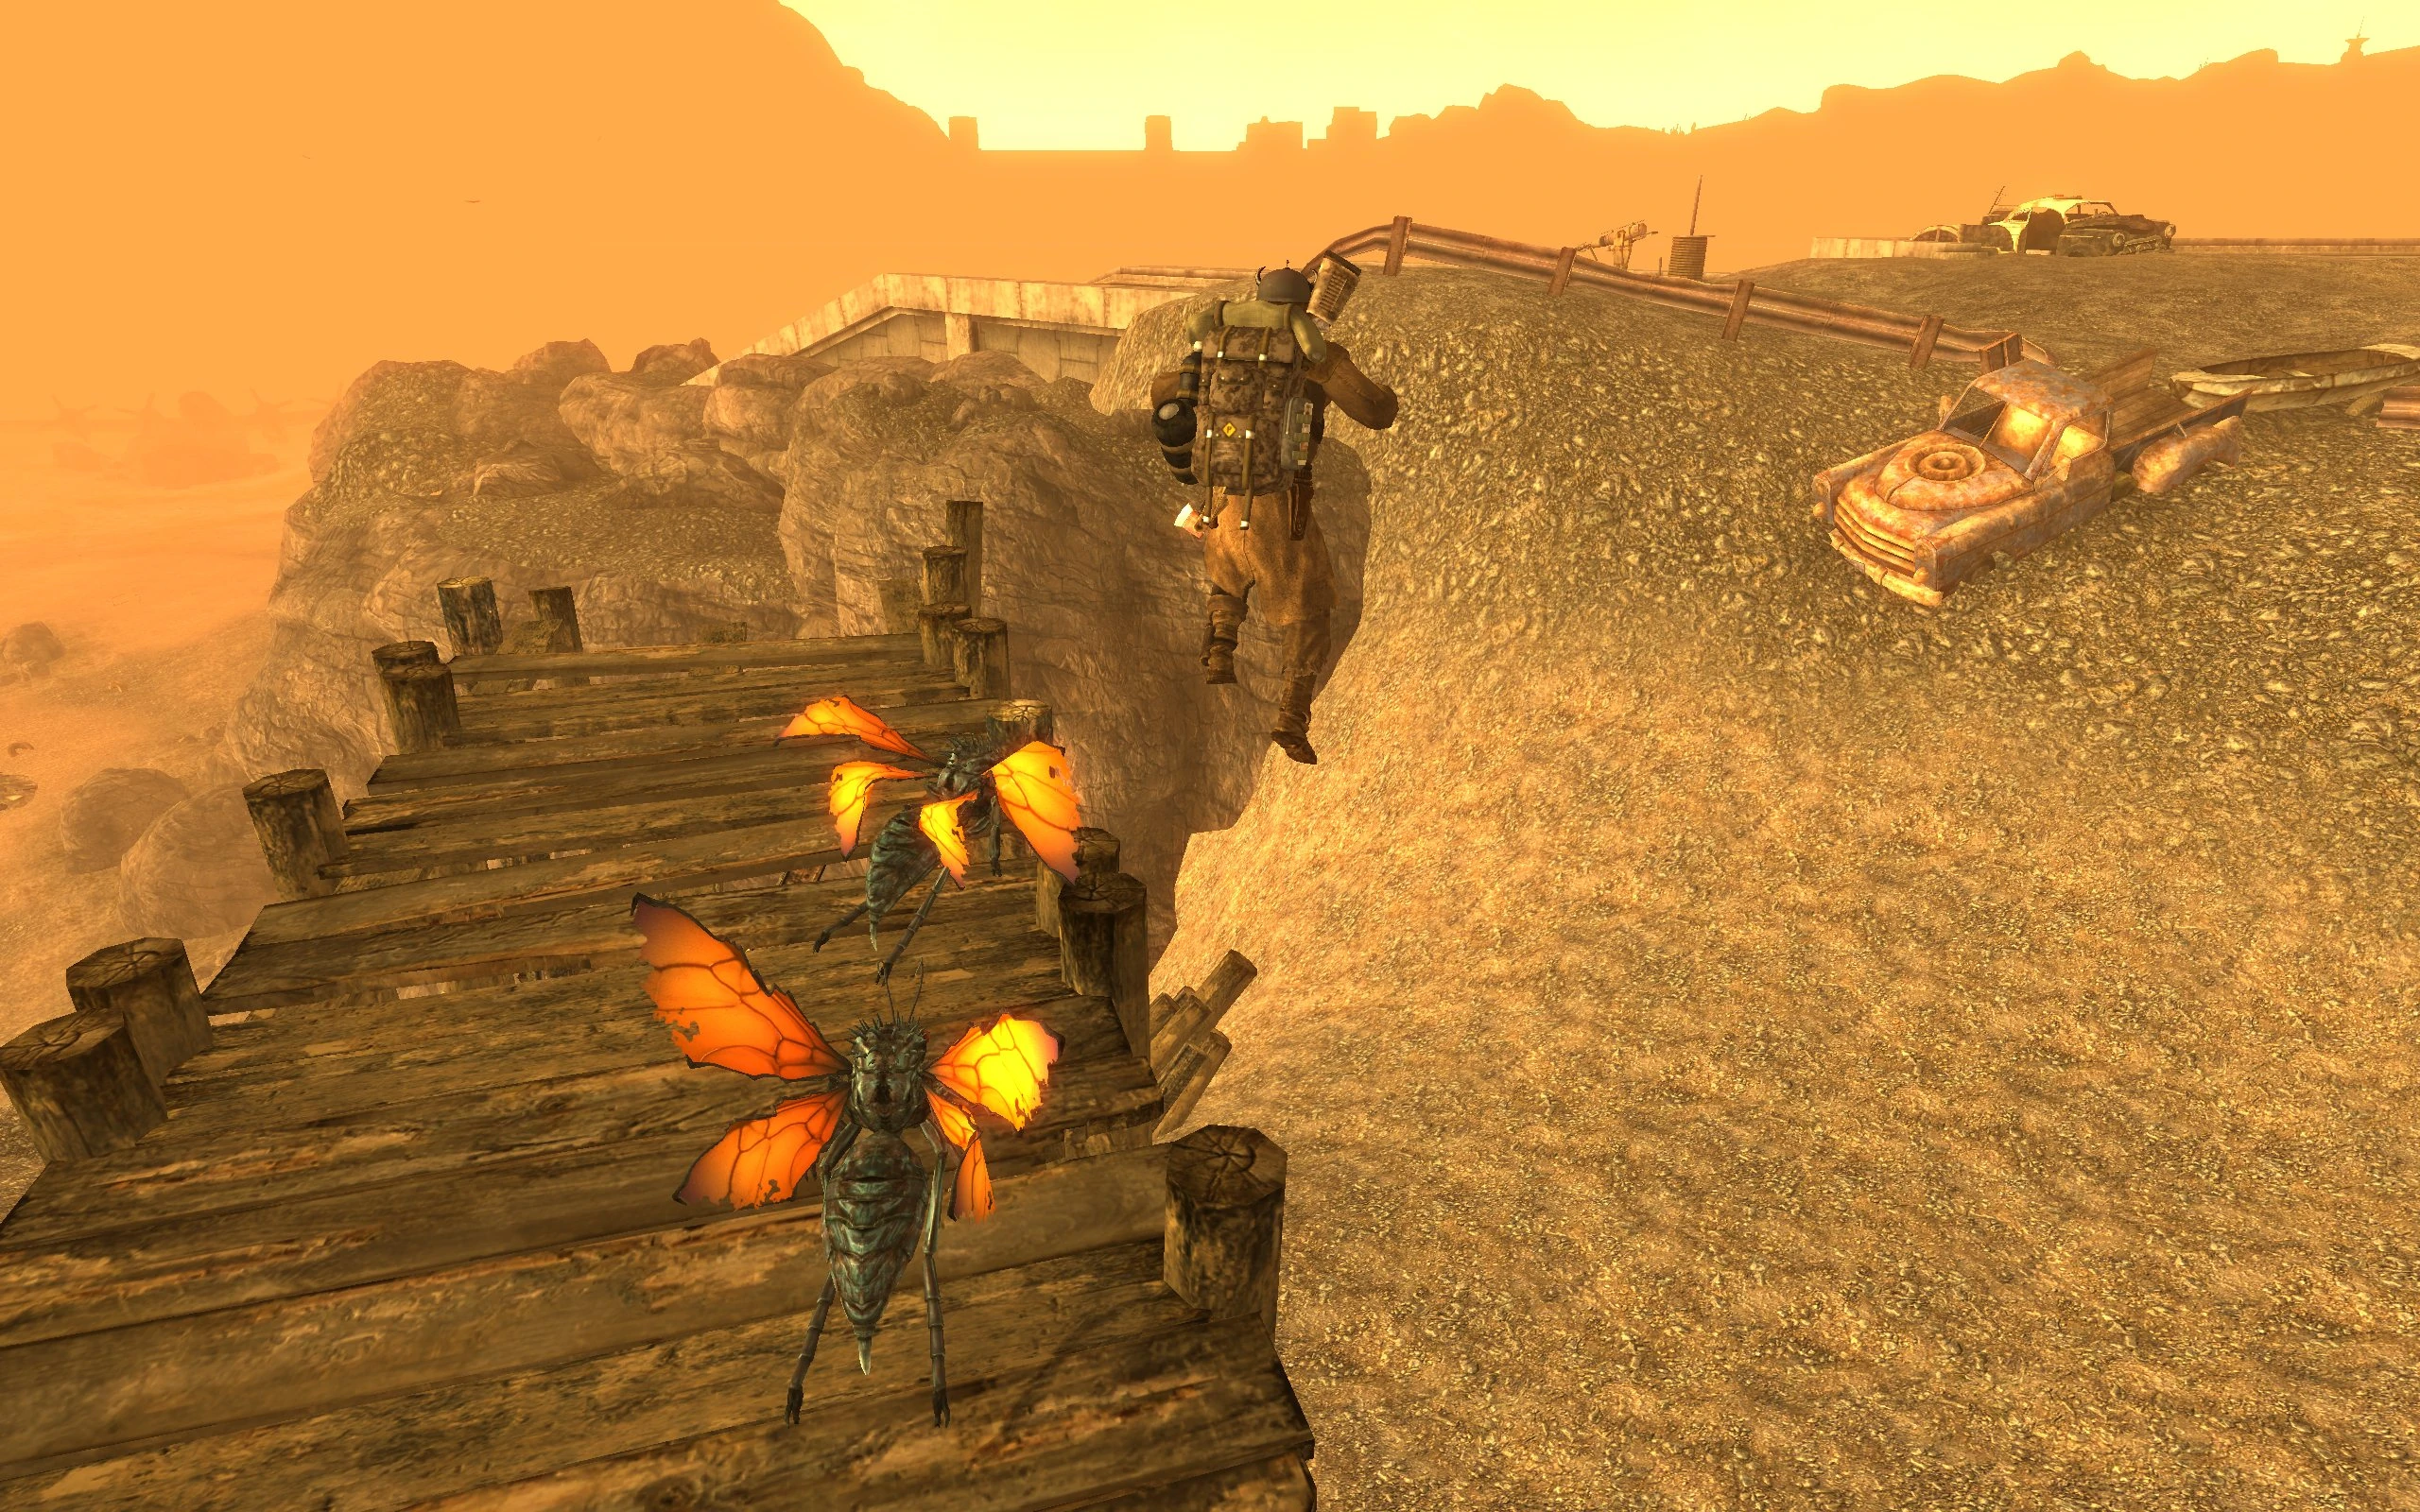
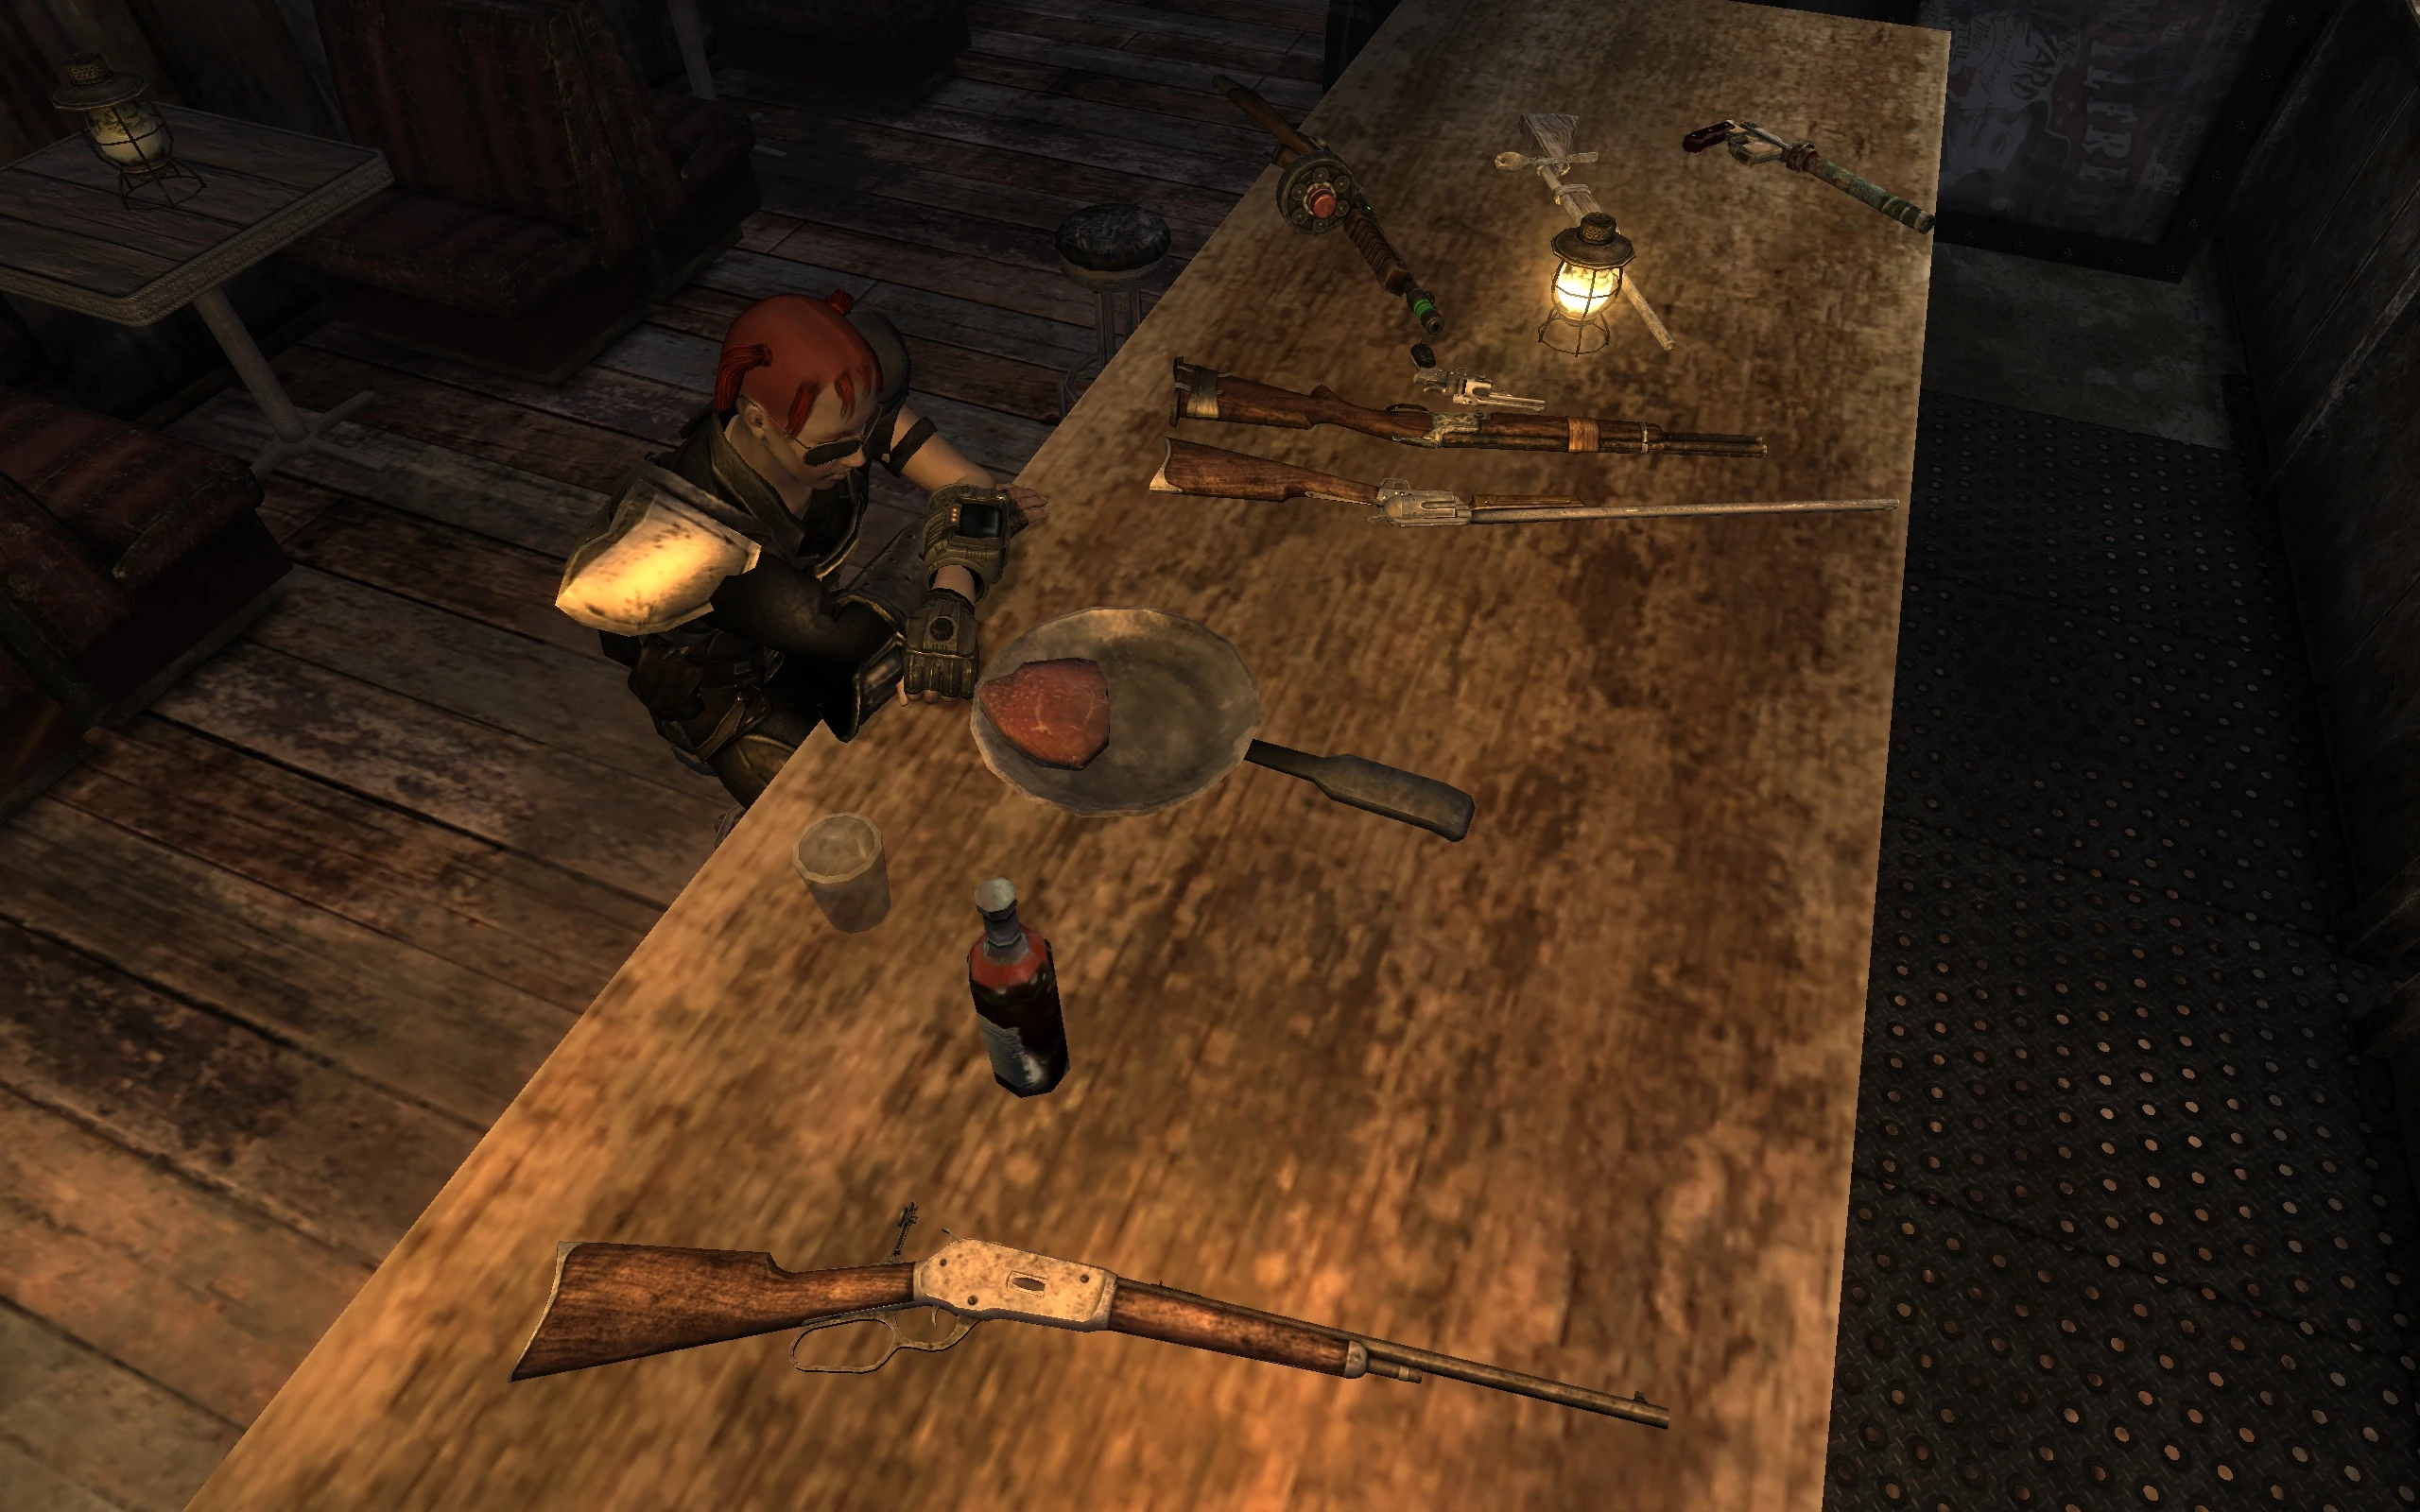
Dang. No fork.
Your goal is to reach Goodsprings for food, drink and lots of other loot.
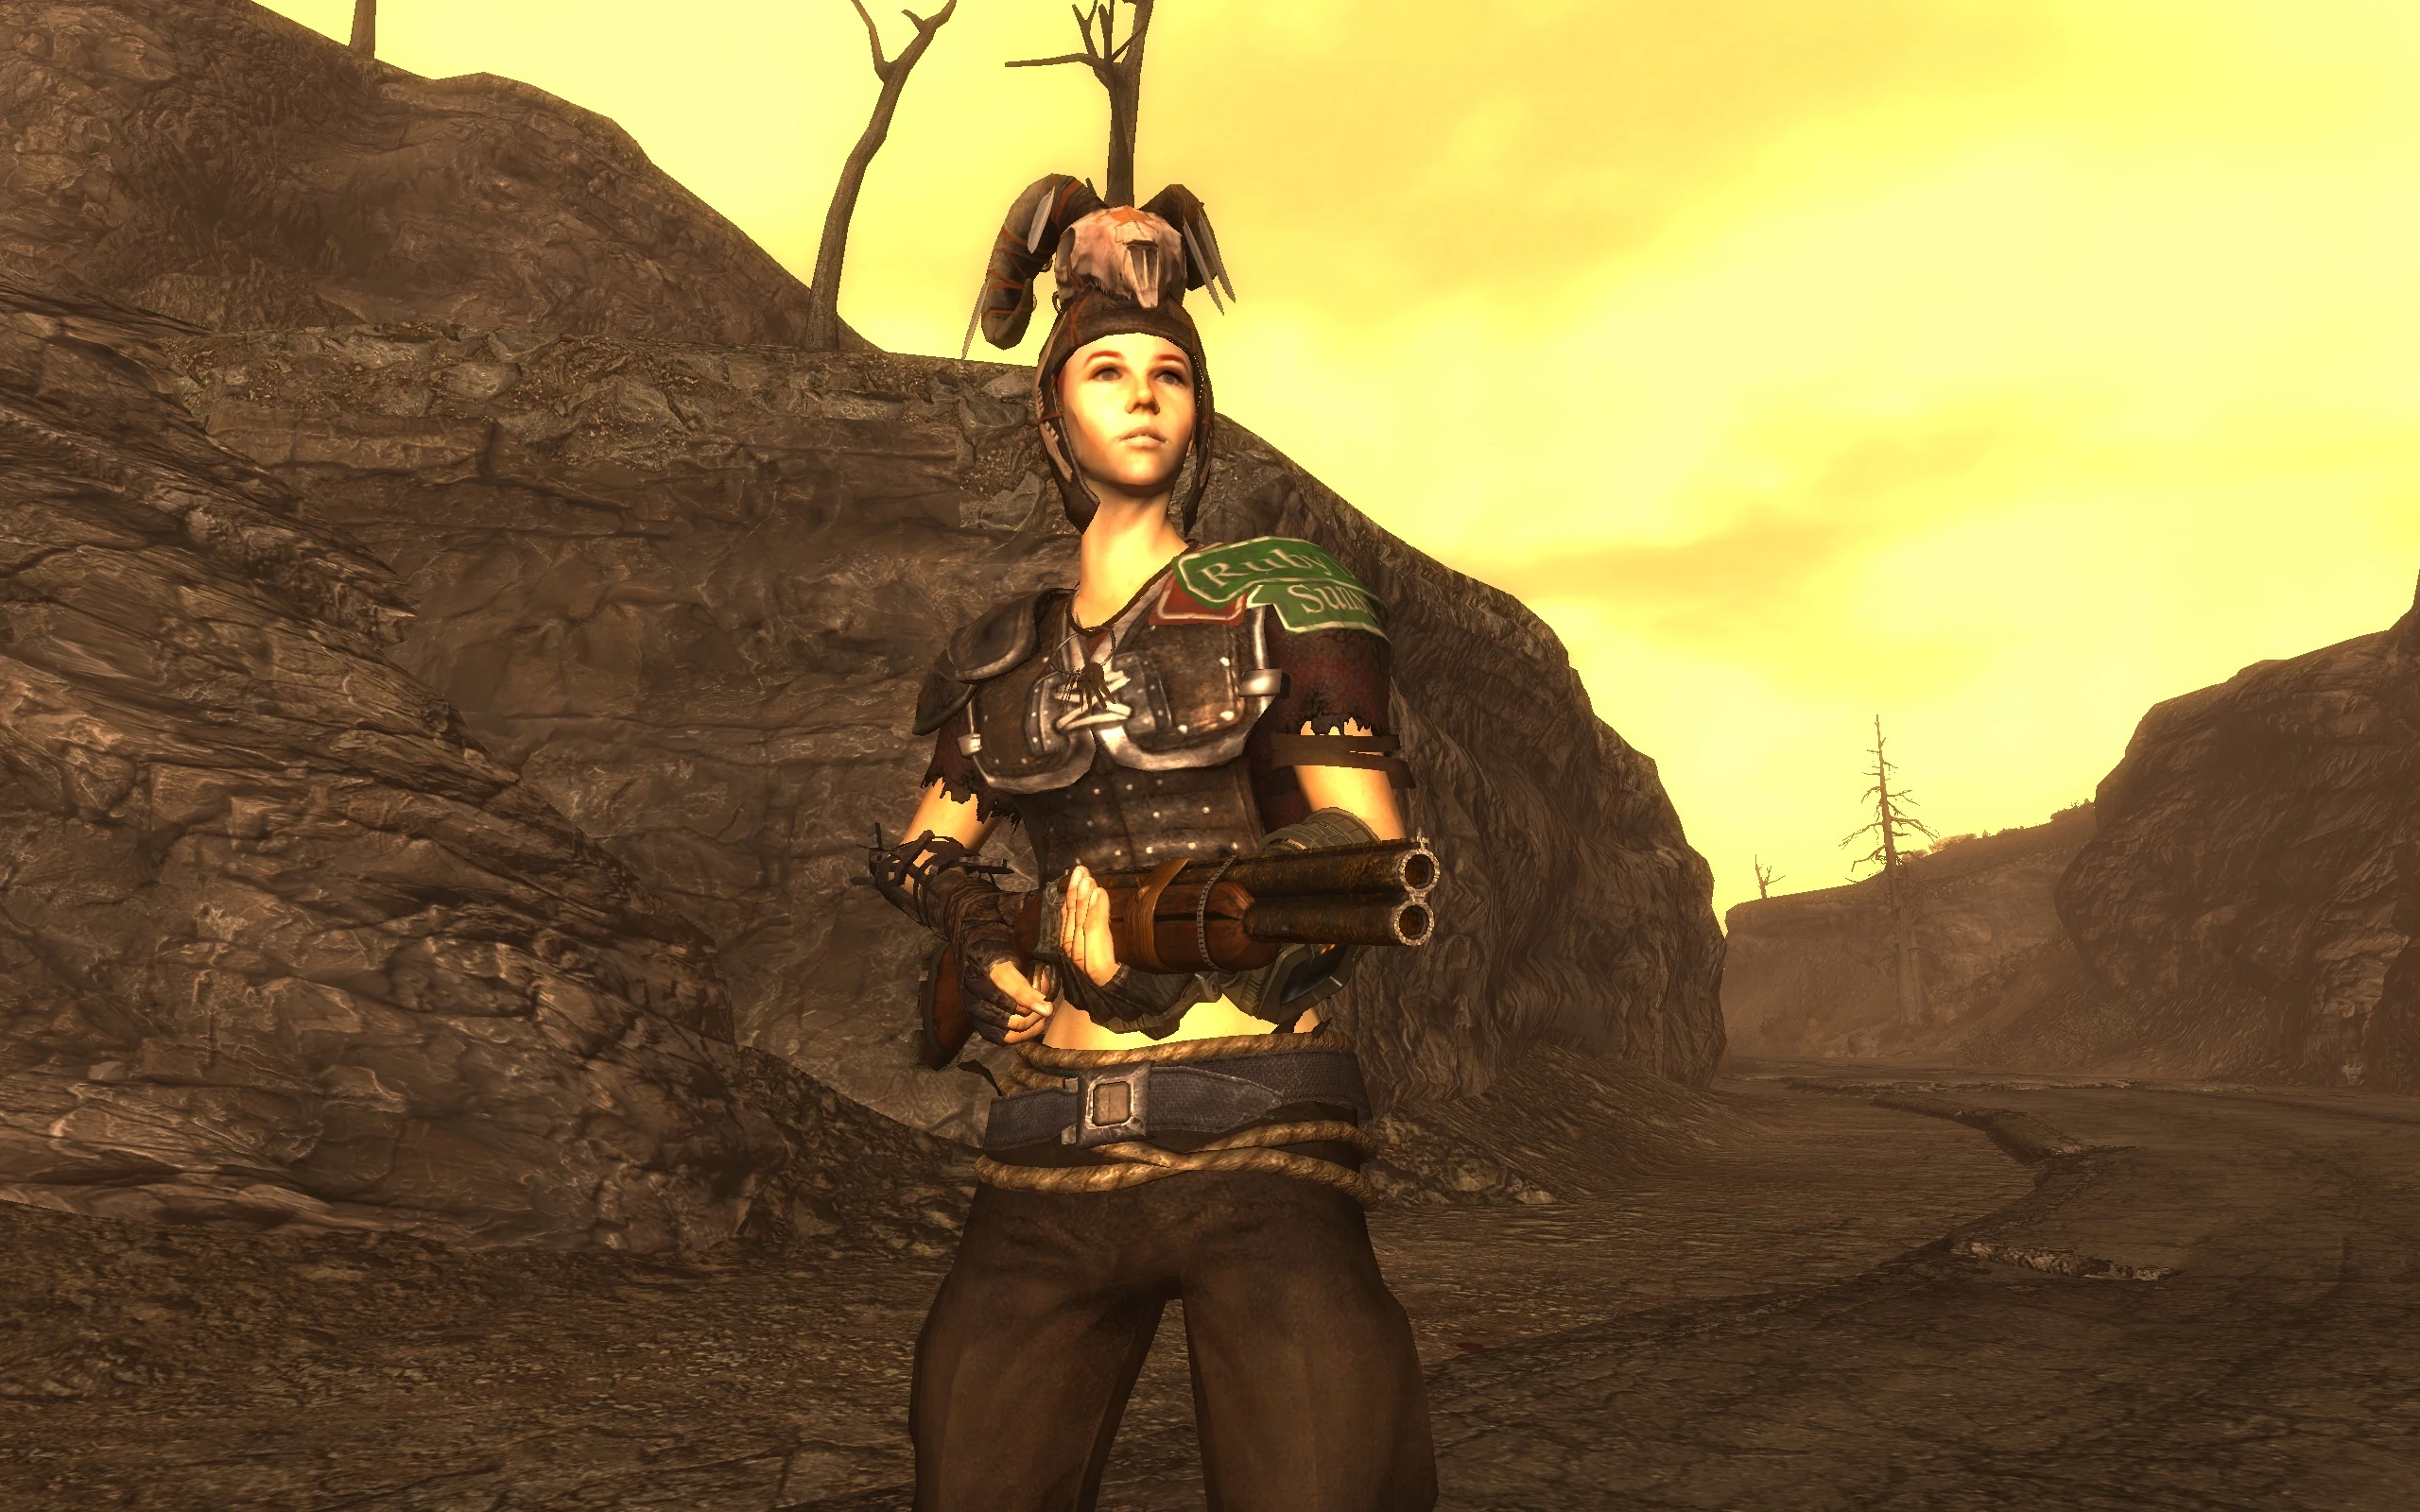
Pictured to the right is a Survivor and her initial set of looted weapons and armor from corpses around Goodsprings Source in the Prospector Saloon.
Grab the key to the locker from the desk, loot the whole place, including the dead body next to the desk. Don't forget the Weapon Repair Kit to the right of the lockers. And, as always, pick up the Crafting Kit.
There are two hostiles behind the shack, who won't notice you sneaking away. Goodsprings Source is likely to be a battle arena of hostiles and non-hostiles engaging each other, with the neighbours (tunnelers) sometimes coming over to complain about the noise.
You have two (non-exclusive) options now:
- Catch the attention of the two hostiles behind the shack, then reenter it, and try to kill them if they come after you. Try to immediately loot the first one even before the second one enters.
- Directly move towards Goodsprings Source. You have a host of options here, if a skirmish's going on:
- Wait it out. If the non-hostiles manage to gain the upper hand, you're in for free loot and made some new friends, but at the cost of losing some equipment to them, since they'll also happily pick stuff from the corpses.
- Wait it out. If the hostiles win, lure them back to the shack, then try picking them off, once they enter (do not wait for the next one to enter before looting). Sometimes they'll lose interest and don't follow you in. Remind them of your presence with a quick peek outside, or a killing shot in the back.
- Wait it out, hoping for the neighbours to further decimate the ranks. If they aren't taken down, they'll return to where they came from, and it's safe to loot the corpses.
- Support the non-hostiles, while the hostiles are so busy murdering them, that they won't waste ammo on you, and hope, that not only no hostiles will be left after, but also that the neighbours don't pop in. While you're supporting them, start looting corpses.
At any rate, you'll be a quite reasonably equipped Survivor in no time. Now move towards Goodsprings through the trails (don't take the road), gain some high ground for a peek, pick of some dogs for their meat, loot Doc's house (Hot Plate!) entering through the back entrance and enjoy your new home, while having a Dog Steak (you'll need Survival 40 for that). Once all dogs are gone, the town is deserted and all yours, until the next pack of dogs tries to take it from you.
If you have some ranged weaponry (Throwing Spears are an option), it's possible to convince some quite well armed and armored hostiles up north to hand over their gear, after they used it to murder anyone around (even more loot).
Abandoned Warehouse (8)[]
Location[]
Abandoned warehouse near Camp McCarran.
Notable Loot[]
- Crafting Kit
- Makeshift Sniper Rifle
- 3 x 47-70 Gov't (JNK)
- Nailboad
- 11 x Wine, chance of additional liquor
- Lootable Toolbox
- Scrap Metal,
- Armor
- Chance of additional loot from corpses inside the warehouse
Immediate Surroundings[]
Exiting the warehouse through the single door present, the Survivor is prone to be challenged into immediately providing breathing space for others, but will not be subject to hostile attacks, if distance is kept.
The Survivor is likely to be attacked immediately, if the roller shutter gates are used for exiting the warehouse.
Hostilities between factions present can be used to obtain equipment.
Tactical Consideration[]
The nearby building, Allied Technologies Office, with a trio of Tribals outside is a misleading target. One would have thought inside is a tribal camp but no, just various giant fire ants.
To the east-northeast would be a Survivor Camp, used to be Grub and Gulp. There might be a firefight between friendly survivors and hostile ones here. The trough is a drinkable water source. Slightly northeast, south of Vault 34 is a survivor beset by Tunnelers. If she survive, she can offer to sell some water and Lupe's dialog. The Cannibal Johnson's Cave has one really tough chick with an unique rifle, and a very clean water spring stained by animals' blood. Vault 34 has a lot of Tunnelers on the outside, with one active Vendortron here. His supply of ammo is much welcome in a Dust world. Vault 34, however, should only be explored by a Survivor with at least 10 RadX and Radaway, as its one of most irradiated places in the world. A full scale exploration around Vendortron should be done next, to gather enough loot to exchange for his ammo. Aerotech Office Park is a big place to raid and pillage. Camp Golf is a tough target, but their rich inventory of anti-rad chems, plus arsenal, make a high-risk high-return area.
After cleaning up Vendortron, we should move down south toward 188 trading post. If we can save the Survivor merchant here, we also have another merchant to buy ammo. Repeat the strategy of camping around him and do full exploration around for loots to buy ammo.
After cleaning 188 trading post's neighborhood, a Survivor should have enough resource for a big push toward the Dam, skirting around Boulder City. That city is full of ghosts, killable only by Ghost Hunter perk.
The Dam has a surface side full of NCR troopers with enough loot to make the whole trip worthwhile. Fighting inside the structures, though, is another lengthy affair. Profitable, yes, but very lengthy and very tough.
Abandoned Home (9)[]
Location[]
Abandoned home west of the strip, with the sign of Montecarlo Suites flashing on the well-maintained building nearby. This starting location contains a usable bed.
Notable Loot[]
- Crafting Kit
- Lever-Action Shotgun
- Cosmic Knife
- 3 x 20 Gauge Round
- 1 x Jet
- 1 x Empty Jet Inhaler
- 2 x Pork N'Beans
- 1 x Salisbury Steak
- 1 x Strange Meat Pie
- Chance of additional ammo and armor
- Chance of additional food and liquor
Immediate Surroundings[]
There is a rigged mailbox right in front of the door. Due to a bug in Fallout: New Vegas, the proximity activated timer on the mailbox will only reset, if players exit and restart the game. Reloading a savegame without exiting and restarting the game will not reset the timer.
Also, a Frag Mine that is supposed to be planted right in front of the door does not always seem to be present.
Up to three hostiles may take notice of the Survivor after exiting the front door, and can follow inside. This provides for a good looting opportunity, if the Survivor manages to neutralize them and is not killed be either the rigged mailbox or the Frag Mine. Nearby Ghouls may be attracted as a distraction, but will not follow inside.
Despite the odd behaviours, it is entirely possible to stay alive and begin exploring the world of DUST starting at this location.
Tactical Consideration[]
The nearby building with a Survivor sitting outside should flag your interest. This denote a nest of survivors.
But no chance of talking since they opened fire on sight. A simple clean-up operation with loots and equipments at the end. Simple, because you have short corridors and plenty of corners, with sudden escape to the door to get out should the bullets flying too much.
The loots inside should provide enough, random containers allowed, to clean that cosmic knife, and making some 20 gauge slugs for the Lever Action Shotgun, if you can keep it working. There is some foods, one or two bottles of water, and some alcohols which is nice. Northward, to the Westside! The Cloud Victims there are lightly armored thus suitable for starting characters. Lots of foods, and drinks in this area. Plus, we really need to find a couple of hammer and wrench. The entire Westside area's buildings only have toilets with irradiated water (18rad) and the sole exception is North Cistern's trough of dirty water (8rad).
Westside society of Cloud Victims are a mixed of hostiles and nonhostiles, even the dogs. However, in the Sewer is another matter: Cannibals with environment very much irradiated. New starter dont have enough radiation protection to venture here, profitably speaking.
Northward of Westside is not very profitably scavenging, with Ghosts around HH Tool Factory blocking the straight route. Going around them the long way can allow explore the northern side, ranging from Winns hideout to Underpass Ranching House, with dangers dot the flat landscape. The Northern Passage Cave is interesting, storywise, and the quick trek into Zion land is same, but loots are sparse.
The easy way after Westside would be southward toward Sunset Sarparilla HQ, with its robot undertakers. The place has, other than numerous empty SS bottles, some dirty toilet water tank (rad 8-). And while robots are uneconomical to kill with bullets, they are few enough that a melee fighter can try their hand at breaking them down one by one. Importantly, this building guarantee at least a pair of hammer and wrench due to placement and not random containers.
Cannibals and Tribals can wander around SS HQ and the abandoned warehouse, and the flat land mean sneaking, even at night, can be a tough tactic.